Be the first to review “Pneumonia Detection from Chest X-Ray with Flask App Deep Learning Project” Cancel reply
Sale!
Deep Learnig Project, Machine Learning Project
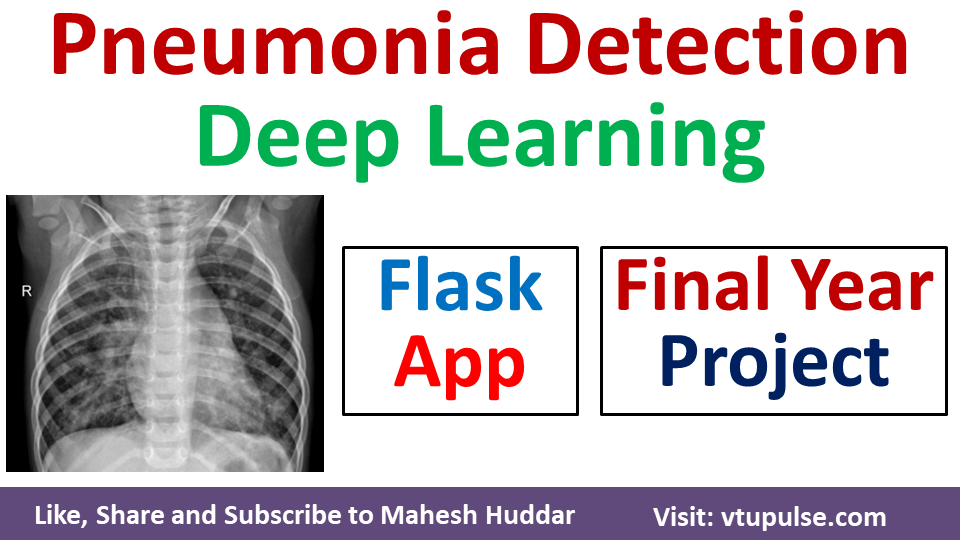
Pneumonia Detection from Chest X-Ray with Flask App Deep Learning Project
Original price was: ₹2,999.00.₹799.00Current price is: ₹799.00.
The following contents are Downloadable immediately after the successful payment
Source Code
Dataset
Flask App
Project Report (Both PDF and Word files)
Project PPT
Instructions to install the necessary Software and Libraries
Step-by-step instructions to execute the project (Readme File)
Project Description
The infectious illness known as pneumonia is regularly a result of contamination caused by a bacterium in the lungs’ alveoli. While an infected tissue of the lungs has an infection, it builds up pus in it. To determine if the patient has those illnesses, professionals perform bodily exams and diagnose their patients through Chest X-ray, ultrasound, or biopsy of the lungs. Misdiagnosis, erroneous treatment, and if the disease is overlooked will result in the patient’s lack of lifestyle.
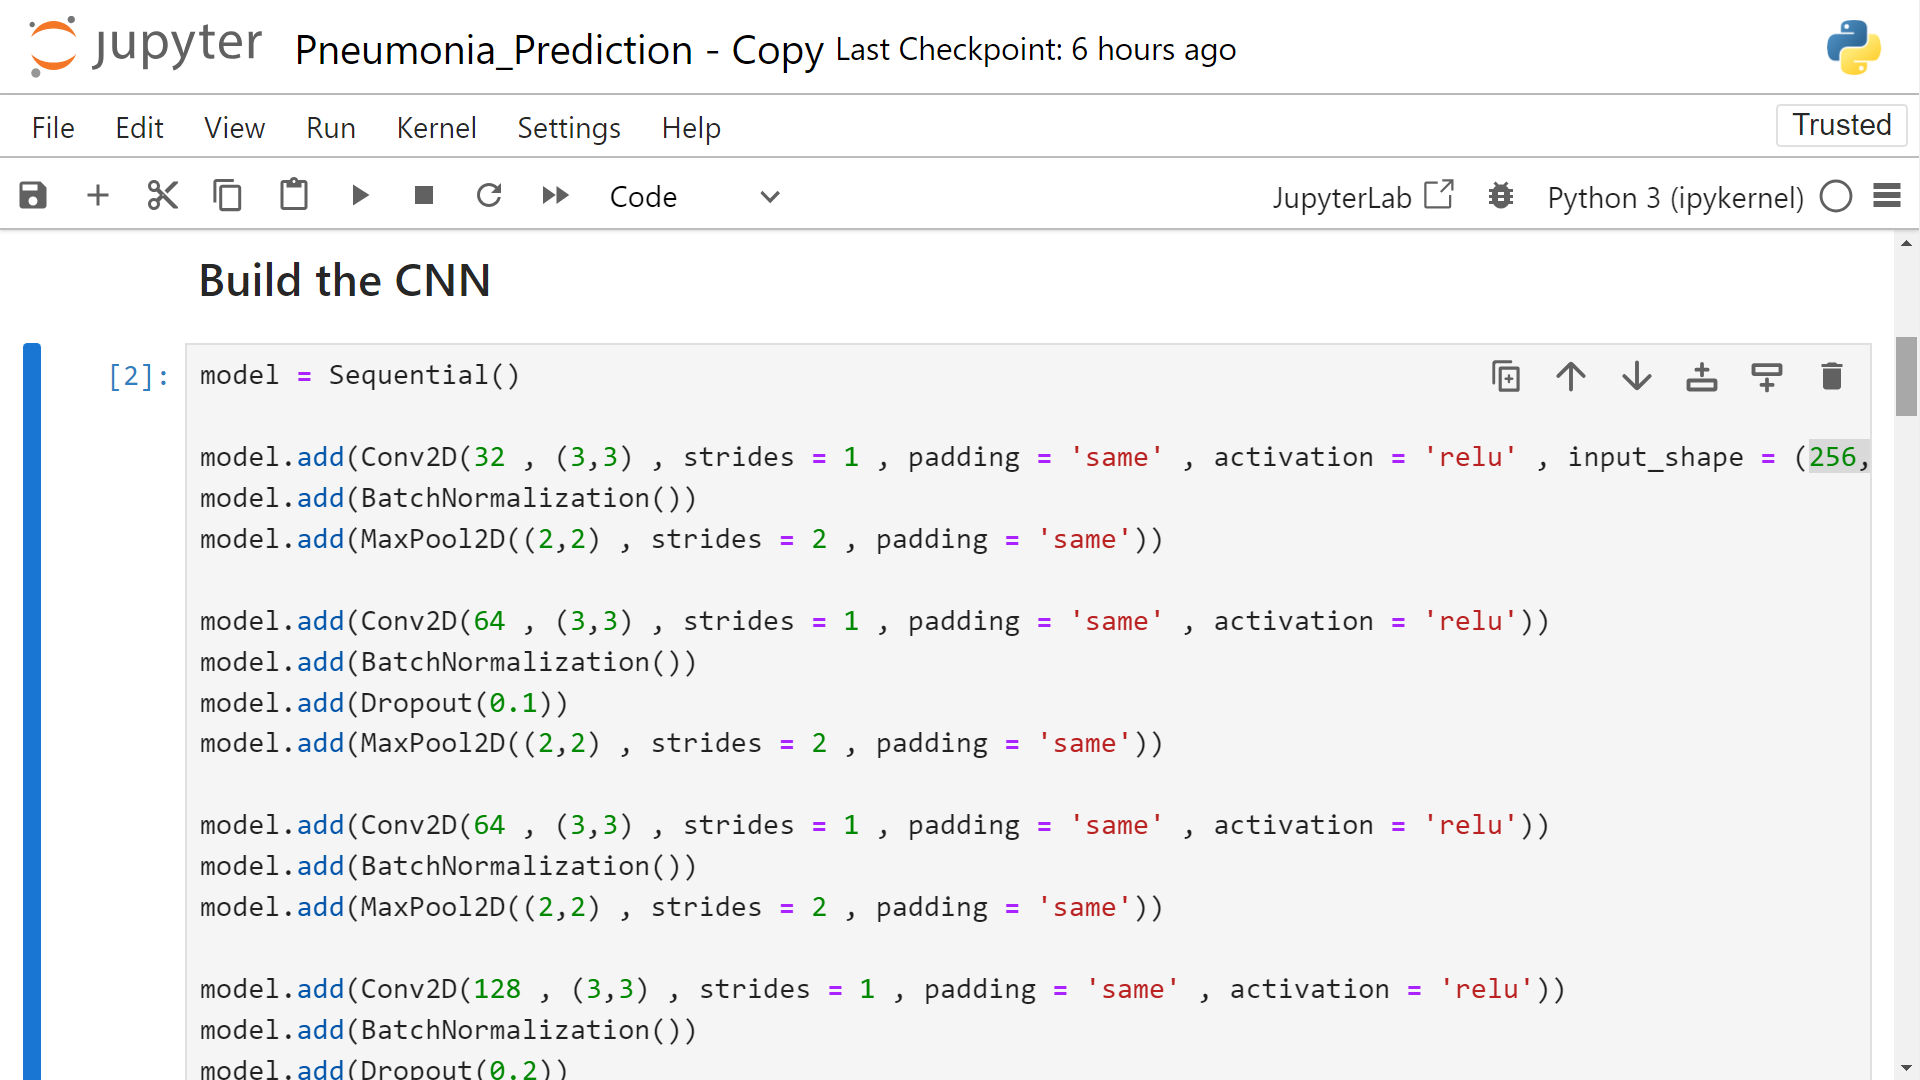
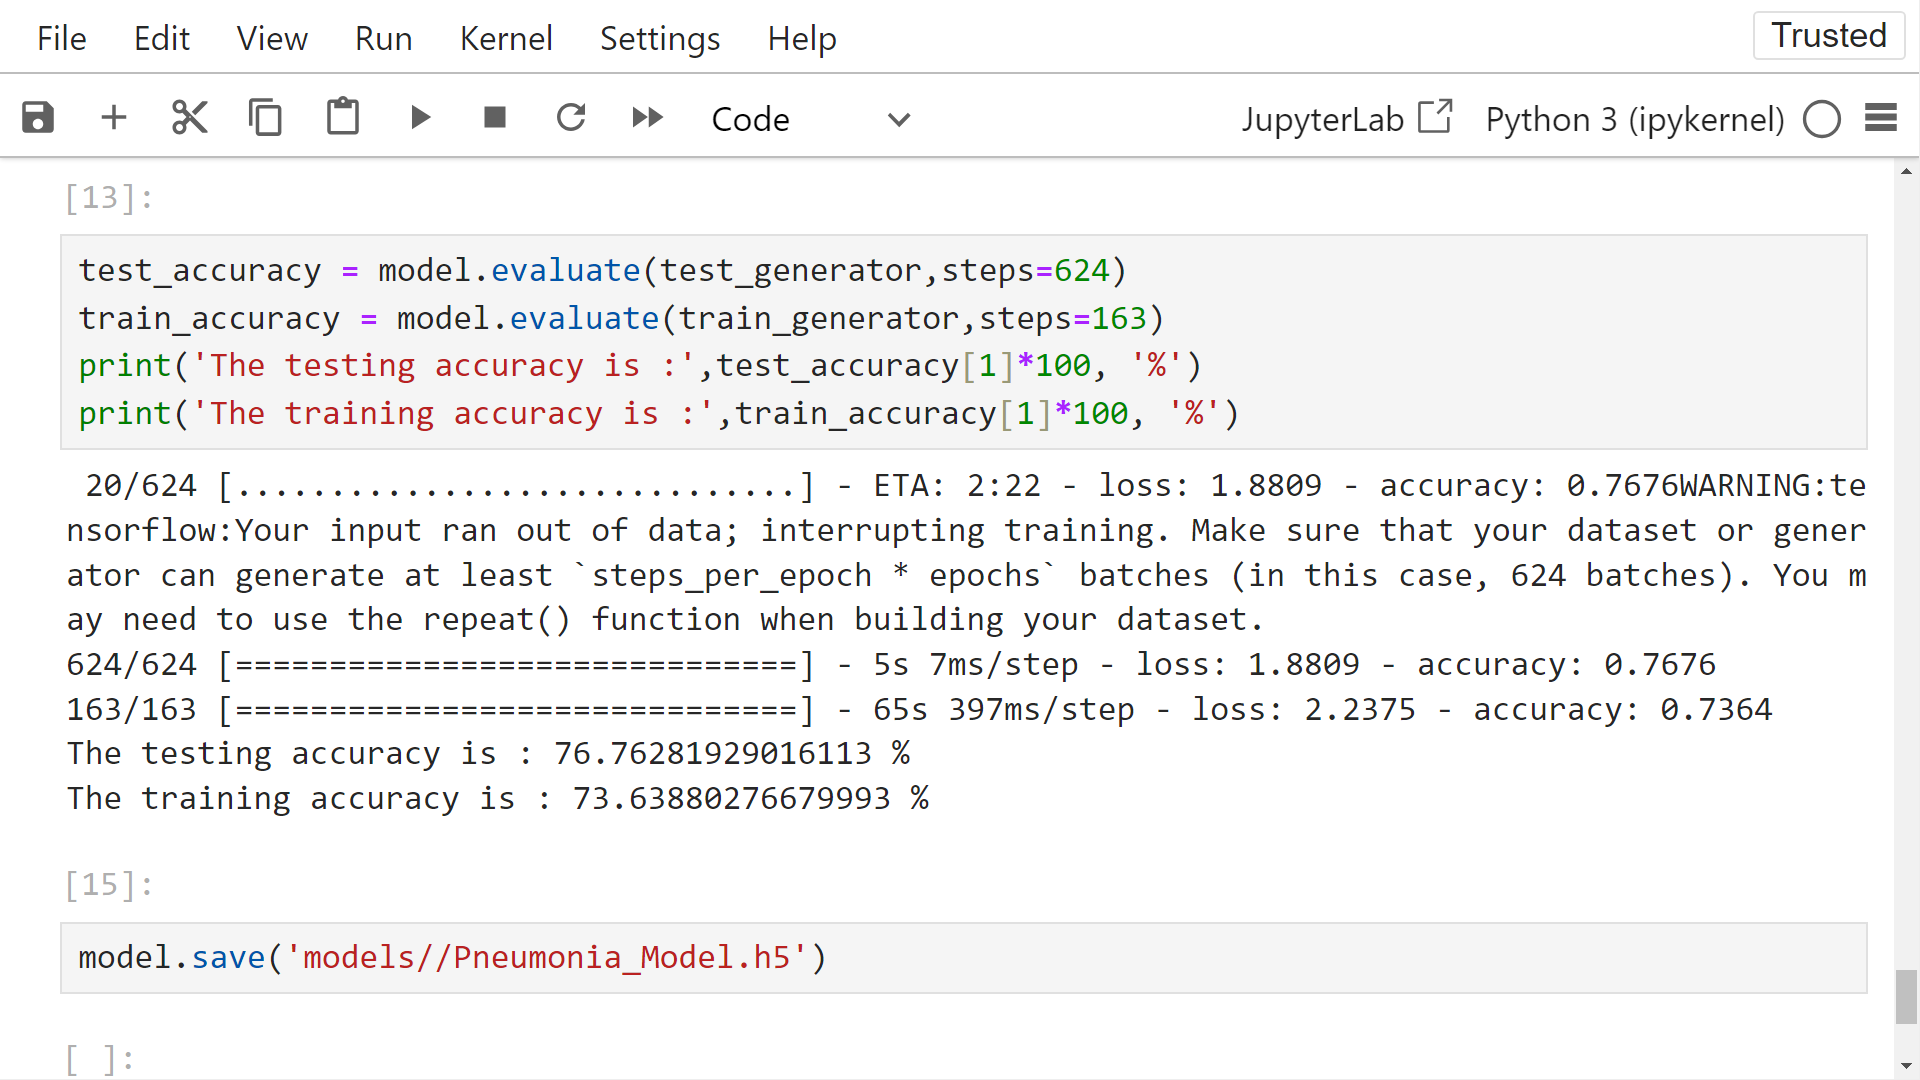
The progression of deep learning contributes to aiding specialists in the decision-making procedure to diagnose sufferers with these illnesses. The look employs a bendy and efficient technique of deep learning, applying the CNN model in predicting and detecting a patient who is unaffected and affected by the sickness using a chest X-ray photograph. They take a look at utilizing an accrued dataset of 20,000 images using a 256×256 photograph decision with 32 batch length is applied to prove the overall performance of the CNN model being educated. The trained version produced an accuracy of over 95% at some point of the overall performance training.
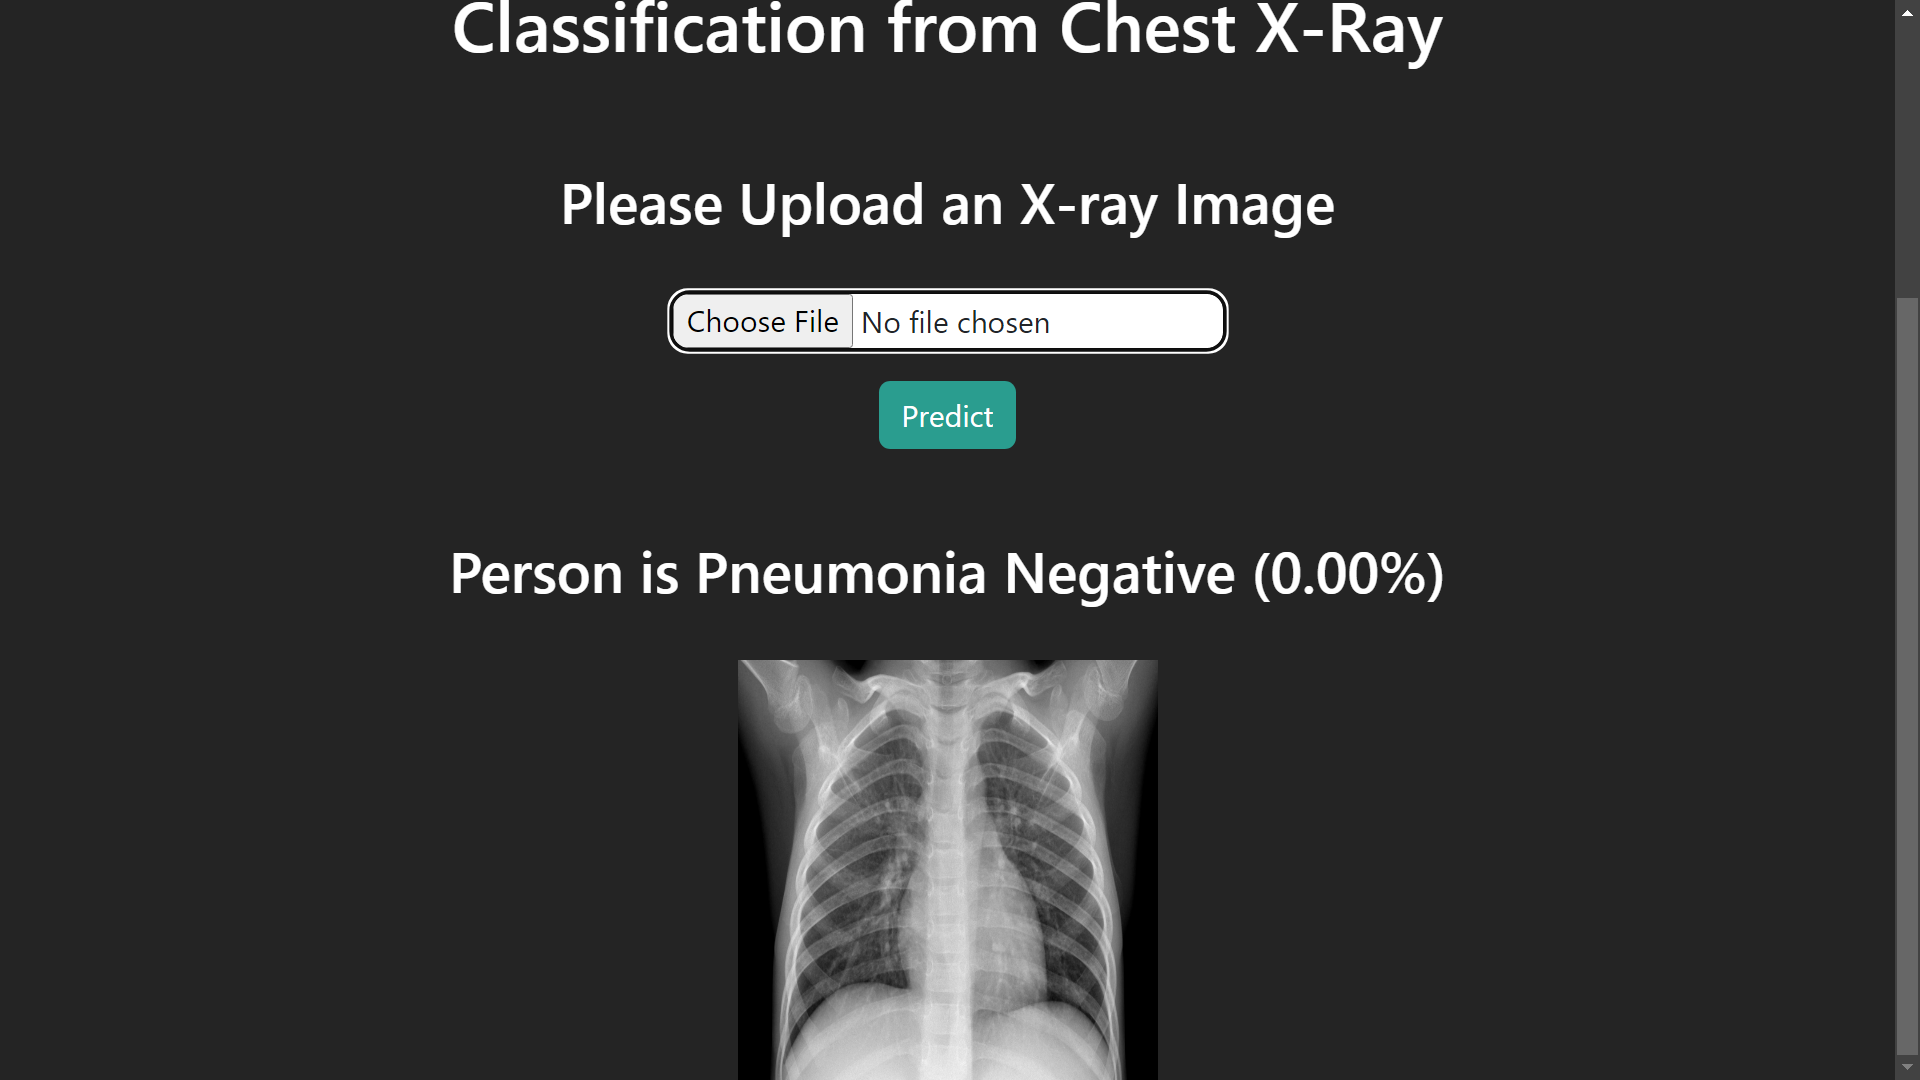
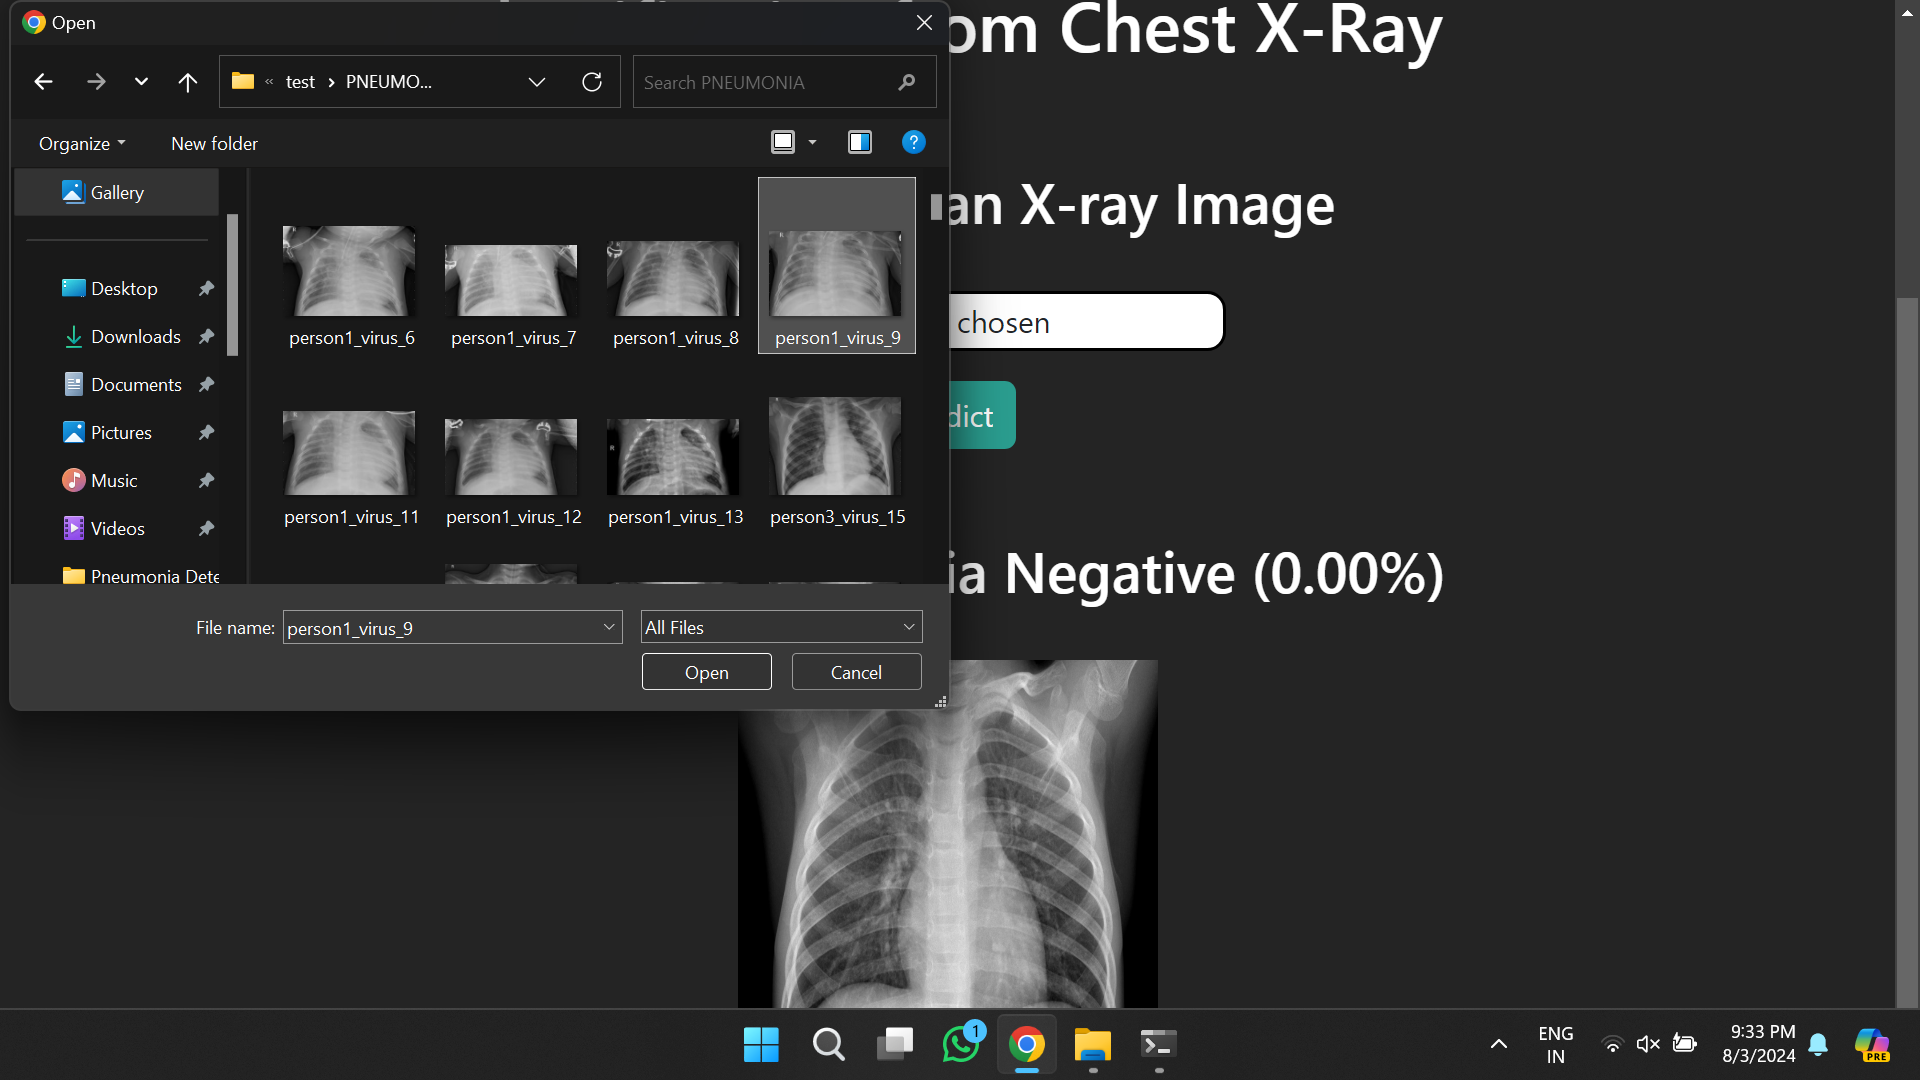
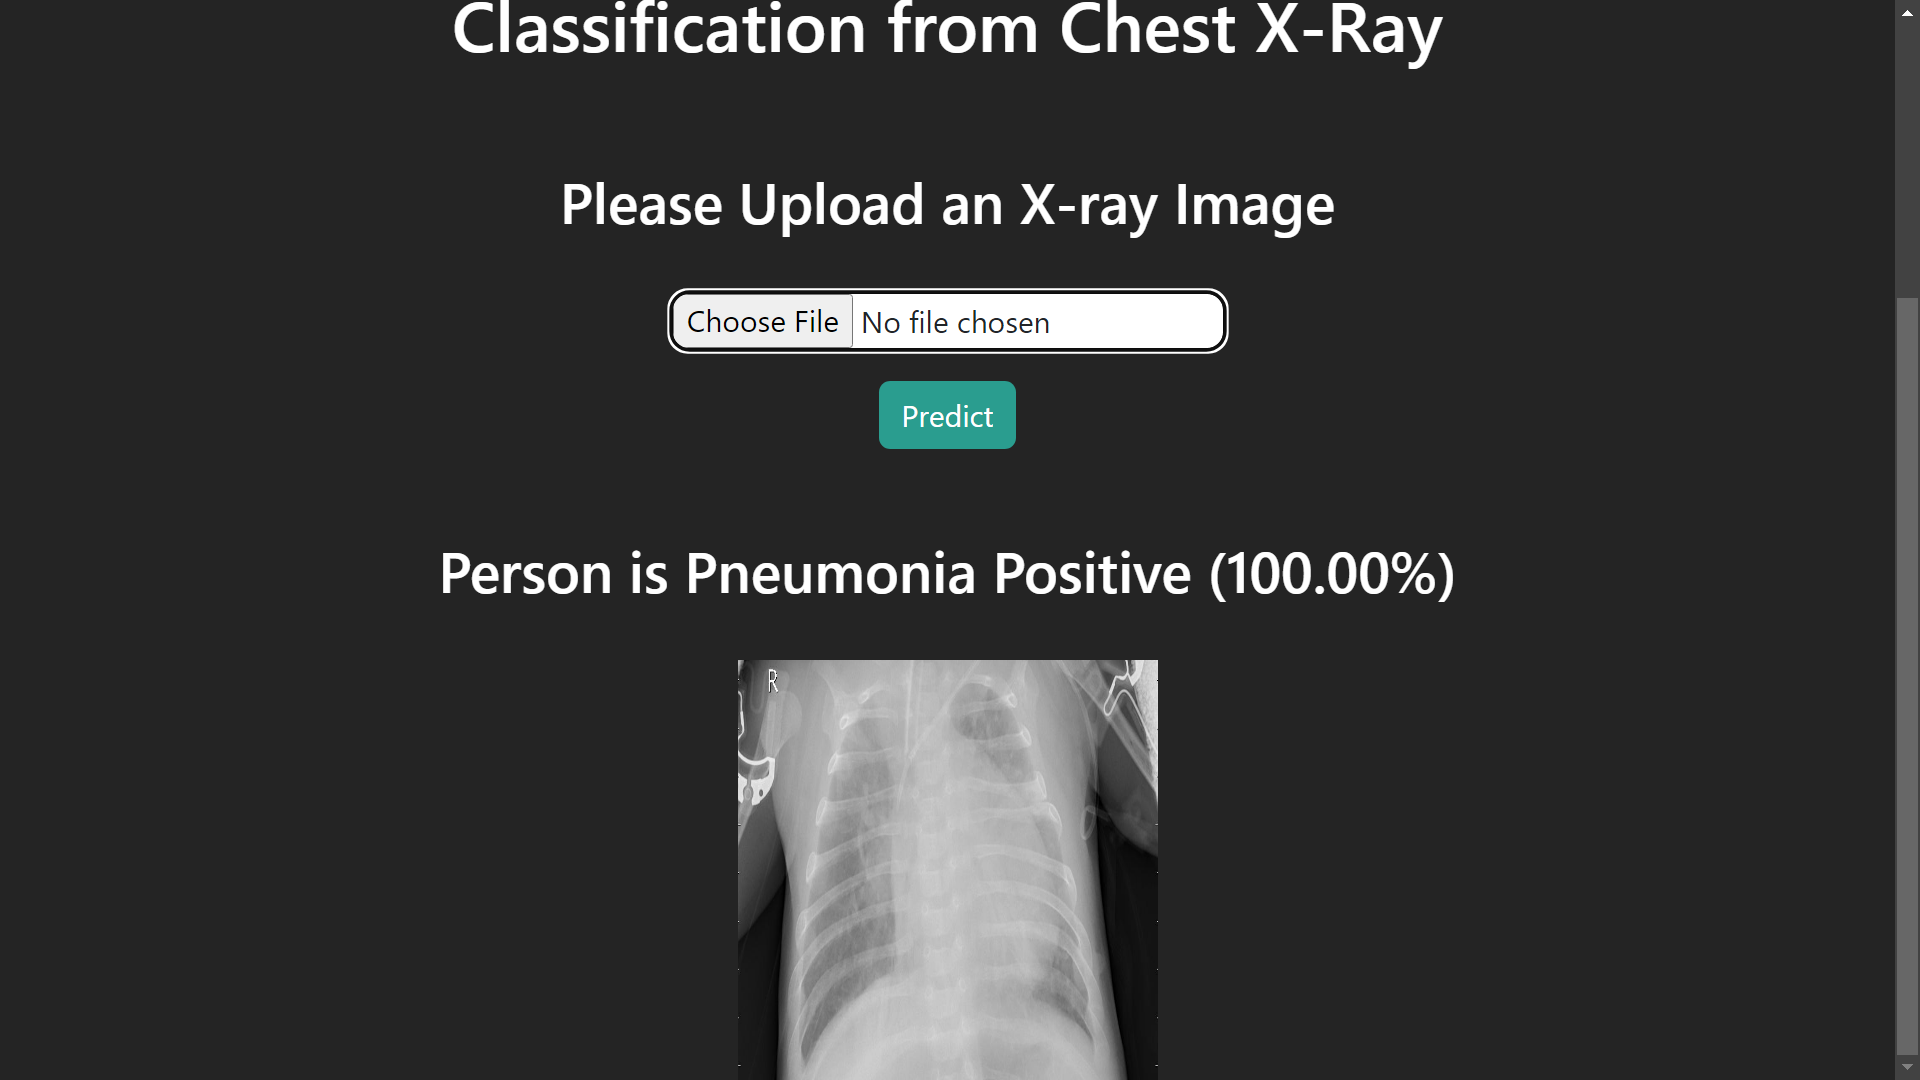
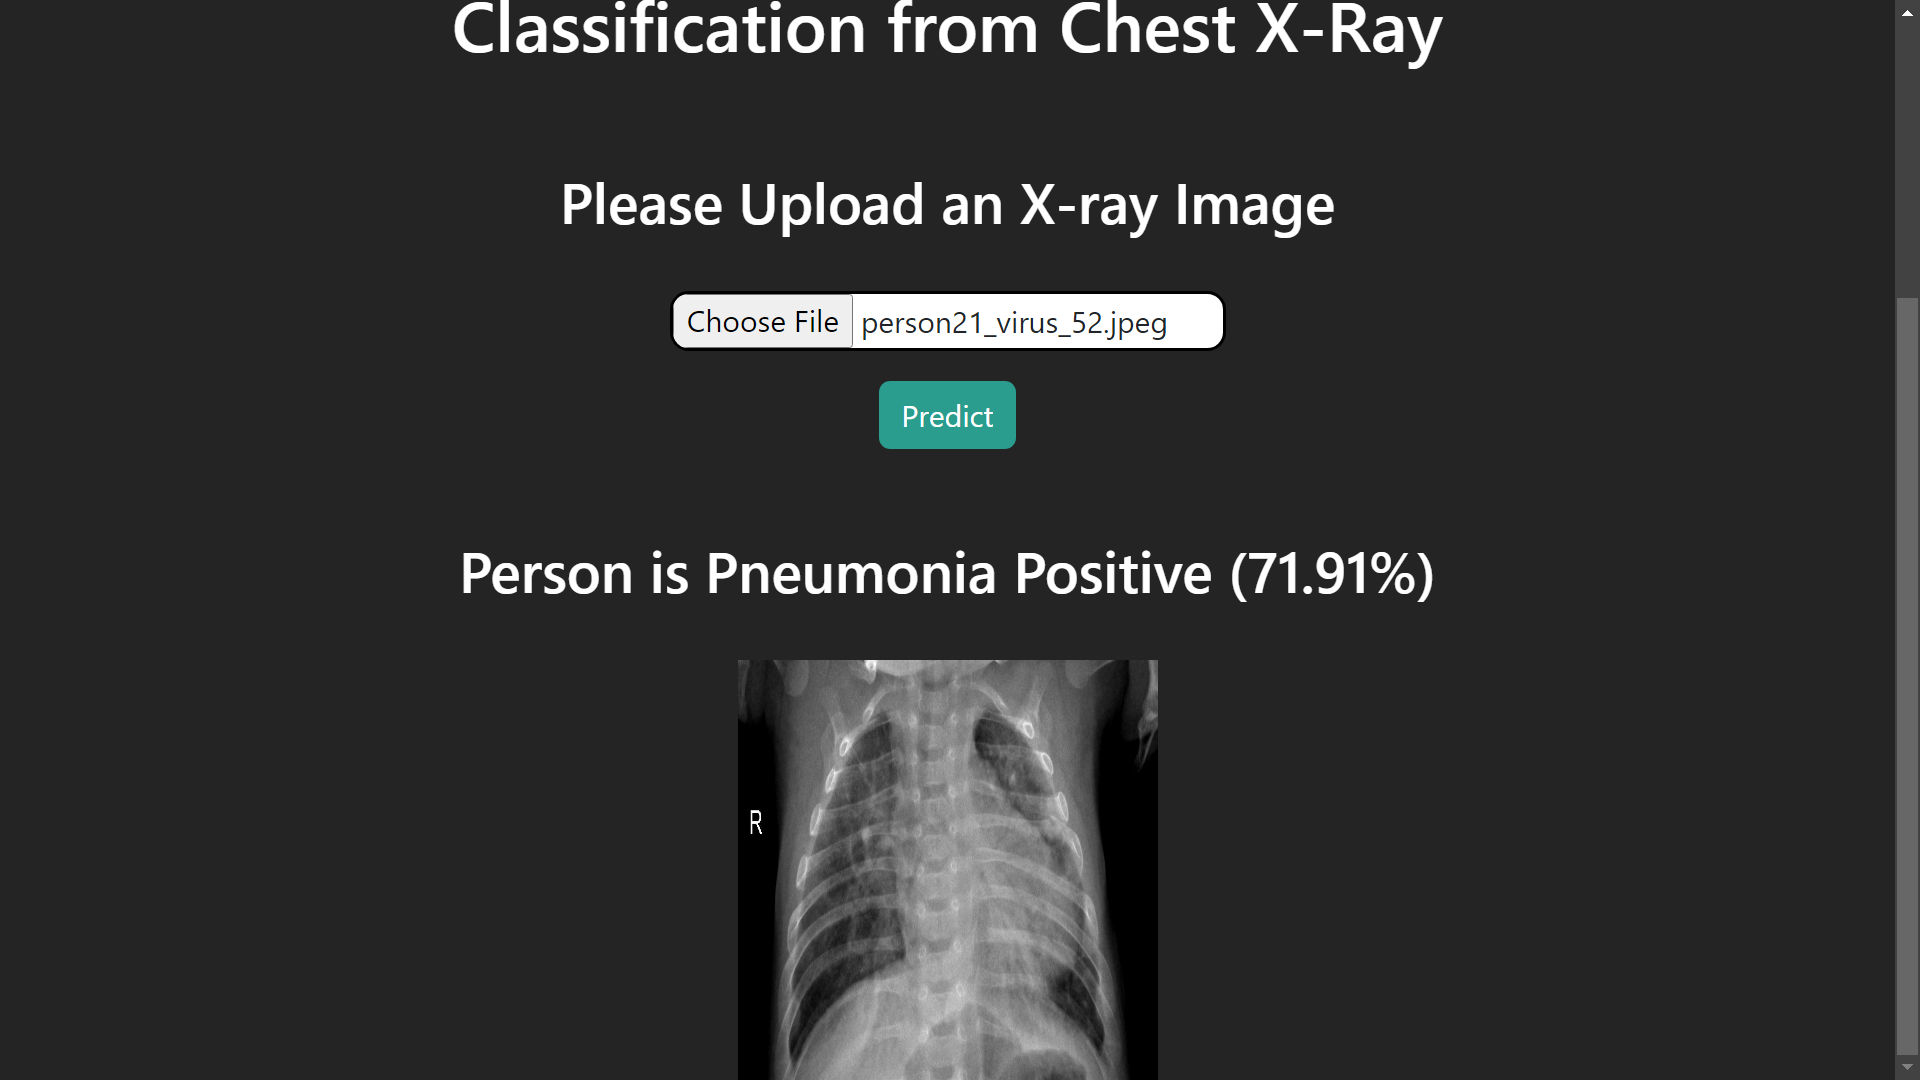
Demonstration of Pneumonia Detection from Chest X-Ray with Flask App Deep
Aim:
To provide an efficient and effective solution over the conventional way of detecting pneumonia disease using Deep learning.
Objectives:
- To learn different biomedical terms related to pneumonia disease.
- To learn the different scenarios of pneumonia disease (viral or bacterial).
- To learn different methods of data acquisition.
- To know about different image processing pre-trained models.
- To build a web application to analyze Pneumonia disease using chest X-ray.
Steps in Implementing Pneumonia Detection from Chest X-Ray with Flask App Deep Learning Project:-
Setting up the Web-App Locally
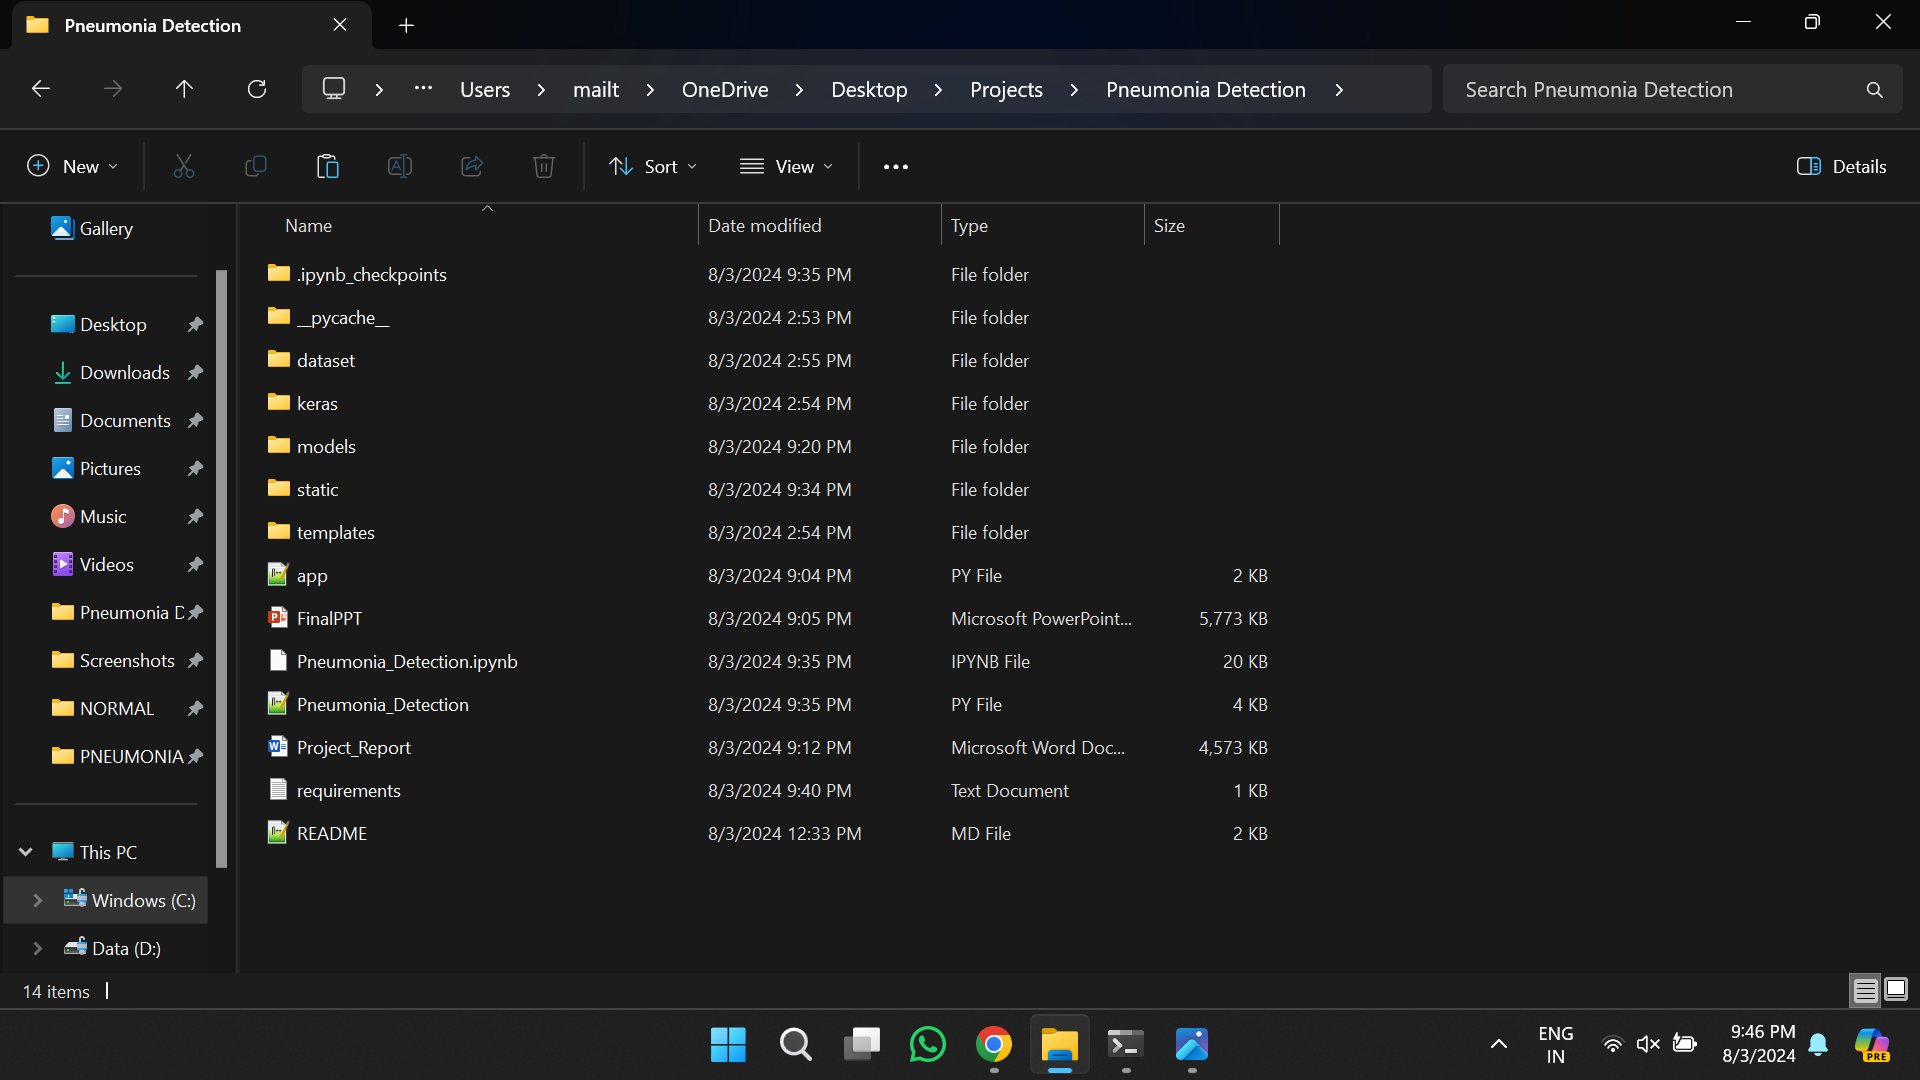
1. Extract the downloaded project folder.
2. Follow the video and Install the TensorFlow and CUDA toolkit
Downgrade numpy to 1.26.4 by using the below command
pip install numpy==1.26.4
pip install numpy==1.26.4
3. Open the Anaconda prompt (search Anaconda prompt in the search menu) and change the directory to the project folder
example:
cd path-of-project-folder
example:
cd path-of-project-folder
4. Switch to tf environment using the following command
>>> conda activate tf
5. In tf environment, Install Requirements using the command
>>> pip install -r requirements.txt
Run the web app using the trained model
1. Open the Anaconda prompt (search Anaconda prompt in the search menu) and change the directory to the project folder
example:
cd path-of-project-folder
2. Switch to tf environment using the following command
>>> conda activate tf
3. Run the following command to launch Flask Webapp
>>> python app.py
4. The app is running at
http://127.0.0.1:5000
To train the model locally
1. Switch to tf environment using the following command
>>> conda activate tf
2. Run the following command to start training model
>>> python Pneumonia_Detection.py
Once the training is completed the trained model will be saved in the models directory
The trained model can be used to predict the label for new images
To run the trained model use the step 1, 2, and 3 of ## Run the Web-App using the trained model
Download Dataset
Dataset Name: Chest X-Ray Images (Pneumonia)
Dataset Link: Click here to Download Dataset
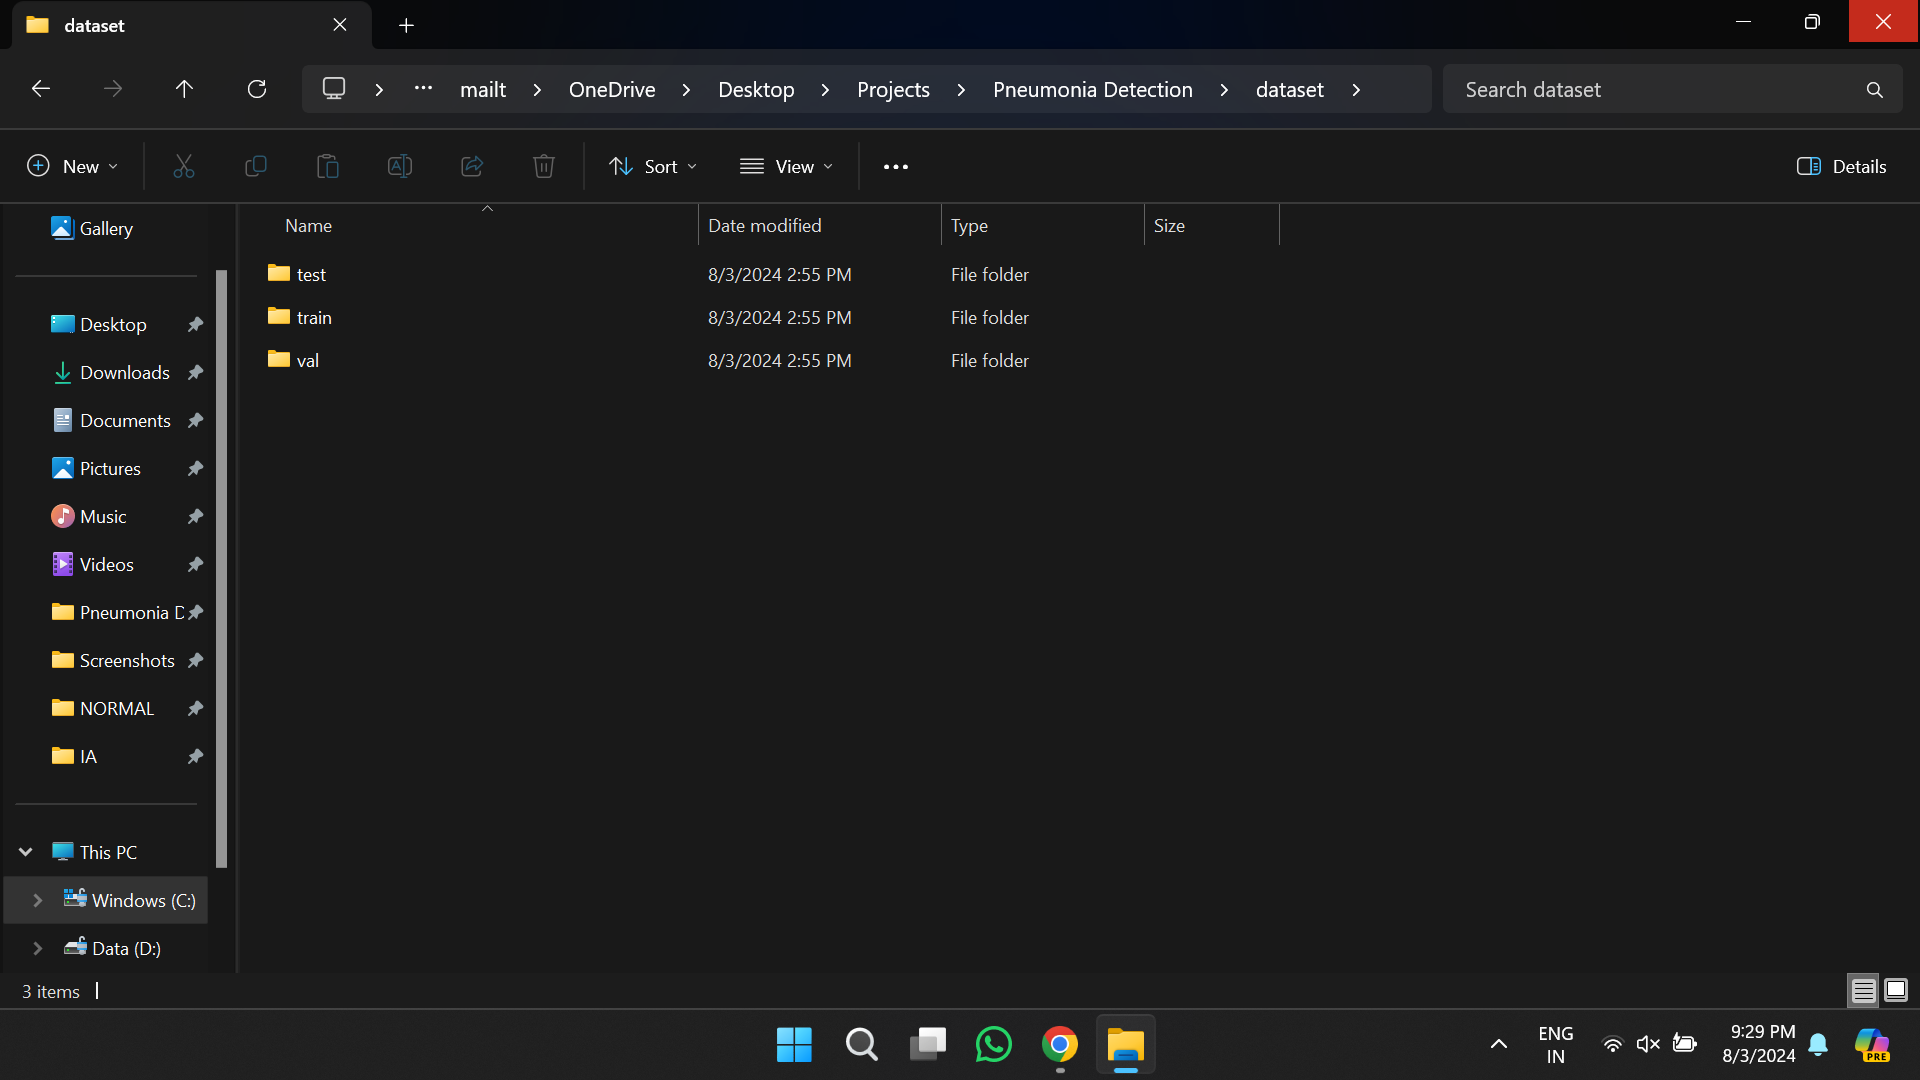
1. Once the dataset is downloaded, you will get an archive folder
2. Extract the archive folder
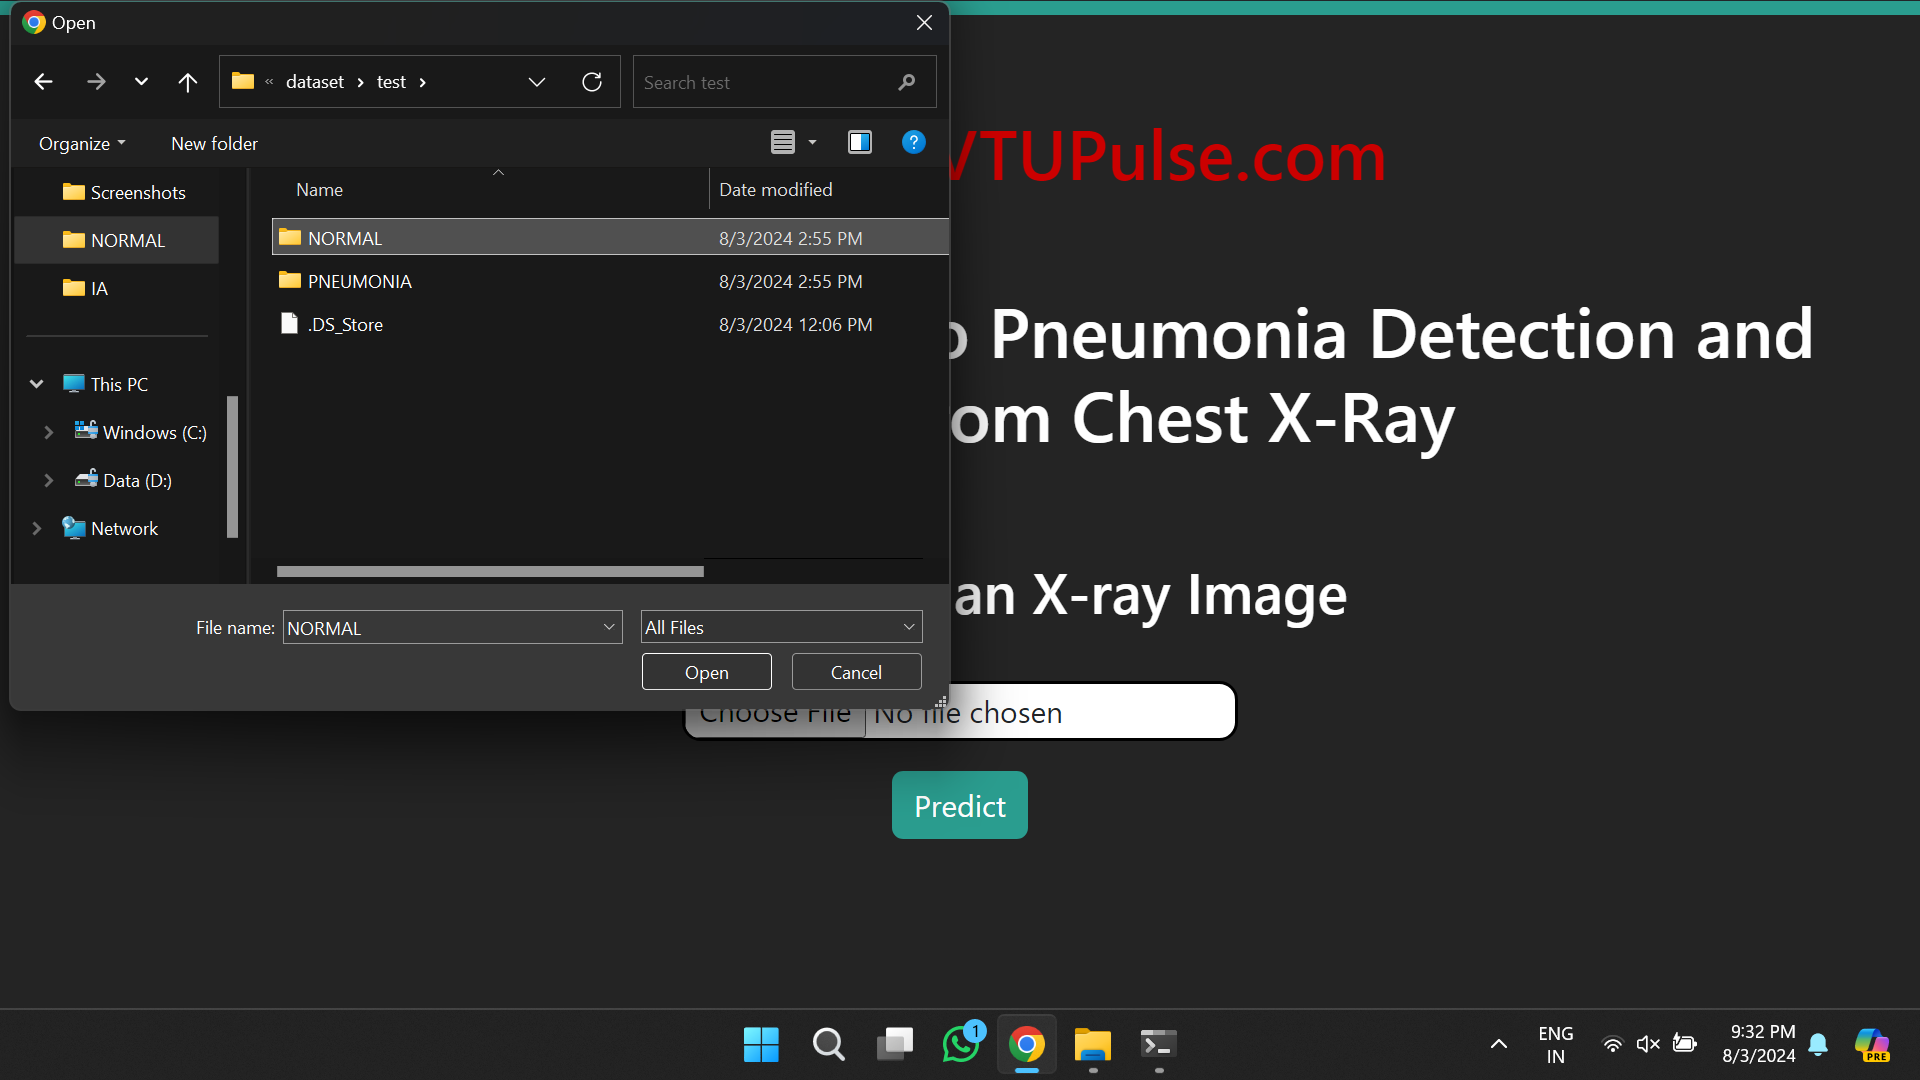
3. Copy and paste the three folders train, test, and val into the dataset folder of the project directory.
Happy Learning
Still need help to set up and execute the project
- Setup and modification are paid services based on requirements.





Reviews
There are no reviews yet.